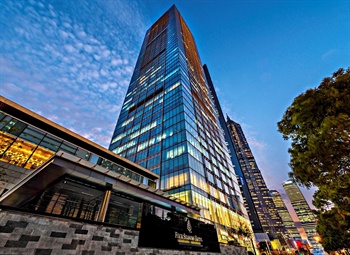
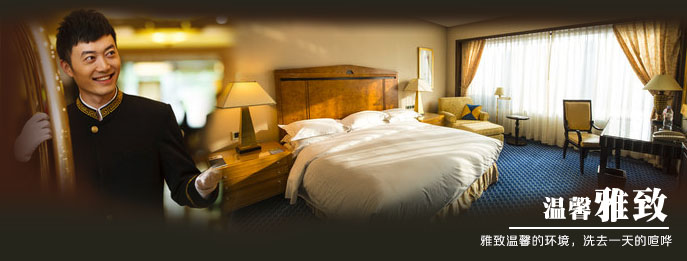
Anyway, I have taken the plunge and cracked open the case and the peacock is coming out to play. This is a polymer set, and to stop staining give the stamps a clean straight away, although you may have stained stamps it doesn't detract from stamping. I clean my stamps using the stampin' mist and the stampin' scrub.
What I love about this stamp set is that you have several elements and you can be basic or you can be flamboyant. You can also experiment with colours.

This is my keep it simple kind of card. Three stamps and three ink pads. One thing I want to show you is that, as I had the stamps out, that I have also stamped more images using my Stamparatus (this will be in the next annual catalogue, if you don't have a demonstrator that you order from already, you can reserve a copy with me). Let me show you the stamping stages.
My first step was to place my stamp on my cardstock and I then picked it up with the clear plate.

Having then stamped that first image, I aligned my next stamp (the peacock body) and picked this up with my second plate.

Just to show you the stamped image here is the next shot. I would do one colour at a time but I wanted to show you the trick that the Stamparatus has of the hinge technique. Simply lift out your plate, still with the stamp on, and move it down your cardstock to where you want to stamp your next image. Isn't that such a cool idea.

As you can see in this next picture, I have taken my 'peacock' stamp and done the same thing and moved that down to where I need to stamp.

Voila! Perfect placement and these are ready to create some card fronts.

I had done the same thing with the flowery tail using the other side of one of the plates but didn't want to bore you.
If you want the peacock stamp, be quick. This is a free stamp set from sale-a-bration and it ends tomorrow <eek>.
Resources
No comments:
Post a comment